Ibanez JEM Forum banner

RG752 Wiring Question - Removing Tone Pot

150 views 21 replies 3 participants last post by  Big G  
#1 · (Edited)
EDIT: Just realized I posted this in the wrong section.

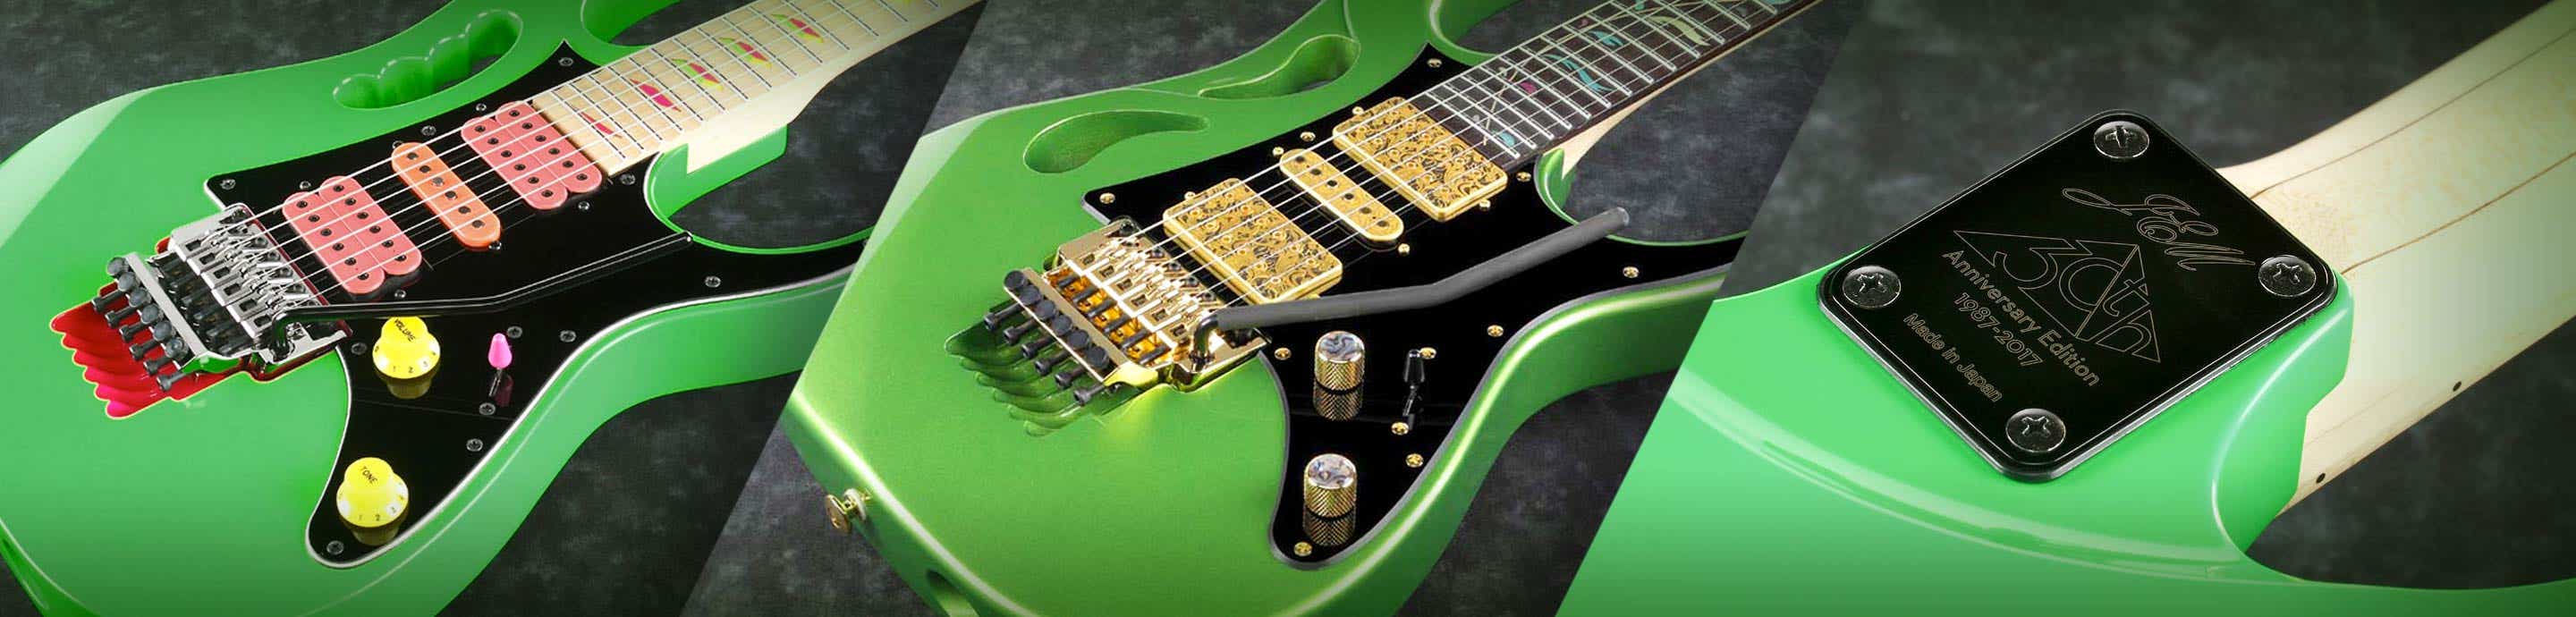
I have an RG752M-DY incoming.

I want to remove the tone pot but (hopefully) keep the factory switching scheme (shown below).

Is this possible with only a single tone pot? I'm willing to replace with a push-pull if necessary, but want to avoid any drilling or similar physical mods.

Image
 
#4 ·
I don't see the tone pot interacting with the coil splits. Just bleeding to ground. I'm not a wizard when it comes to pickup wiring (so anyone, please feel free to correct) but, from what I can see, you can just send the vol pot ground to the output jack (after removing the tone pot) and you will have completed the circuit.
 
#5 ·
That's sort of where my non-wiring-expert mind was going as well--seems pretty straightforward--but I'd be curious for someone else to chime-in. I feel like I/we might be missing something.

Can I assume that eliminating the capacitor is a non-issue as well? With no tone pot, I assume it's a moot point.
 
#7 ·
I can't see any logical reason why simply pulling the tone out of the circuit (and grounding the vol pot) wouldn't work.

The guitar won't be here for another week, so unless someone else pops in here before then and gives me a reason not to, I'll give this a try.
 
#8 · (Edited)
Okay, guitar's here. I haven't looked at the wiring in great detail (have to wait till this weekend) to see if it matches the diagram, but first thing I noticed is that there's a cap on the volume pot. That's not depicted in the DiMarzio diagram above. Is that a treble bleed? I thought those always included a resistor, but maybe I'm wrong.


Image

Image

Image

Image
 
#9 ·
Happy NGD.

Yes. That's a treble bleed, in it's simplest form. (aftermarket most likely)
Image


There is another version floating about which is parallel & kinman in one (i.e. parallel and series resistors)

Also, yes you can just eliminate the tone pot as nothing other than ground is attached. (the other wire shown in grey on the diagram is only the tone signal output). Just don't forget to send the ground to the volume pot.
 
#11 ·
I’m no expert in wiring, but I would send the ground to the casing. The tab that is bent up (right side) is the grounding lug, (hence bent up and soldered to the case). Some people don’t like the idea of bending the lug up, so, attach a wire from the lug to the case instead.
As the diagram shows the grounding wire attached to the casing of the tone pot and then a jumper wire to the volume casing, if eliminating the tone pot it would simply be a case of eliminating the jumper wire also and just attaching the ground to the volume.

I hope that this is making some sort of sense. It’s getting late and I was up early so I might be rambling 😂😂
 
#12 ·
After looking more closely and comparing the DiMarzio wiring diagram with what I actually see in my guitar... they're not at all similar. I'm wondering if someone rewired this guitar for different sounds. I won't know till I plug it in and find out (hopefully that'll be tonight).

That, or maybe there's more than one way to wire things to achieve the same effect.

Either way, not a big deal. I just wanted to have a wiring diagram on hand should I ever want to revert the guitar back to factory spec.
 
#13 · (Edited)
Looking again at the pictures, the setup looks essentially the same, except that the output jack has been grounded at the volume pot (see blue dot on picture) instead of the tone (as per diagram).
Image


The green dot is the bridge ground (which would need to be connected to the volume pot if you are removing tone pot).

The red dot, is a jumper wire which grounds the tone to the volume and also the output of the tone to the input of the volume (the little grey wire on the diagram). If removing the tone, this would be eliminated.

Here is a link to a YT video that shows a wiring programme that’s free to download. You could always have a play and see what happens, as it will analyse the circuit as well.

 
#14 · (Edited)
@Big G Yeah, they (our 2 guitars) look identical to me... so that at least confirms that no one's changed anything.

What's interesting is that, in our guitars, the green wires go to the blade switch, whereas in the diagram they go to the pot housing. Then again, I also notice (in the diagram) there's a wire from the vol pot's housing to that lug on the switch... so maybe it ends up creating the exact same result. This is where my limited electronics knowledge plagues me.

I'll check out the video. Thanks!
 
#15 · (Edited)
OOOOOPPPSS!
Sorry for the confusion........ That was your picture...... I just screenshot it to highlight the wire SORRY!!!! :LOL::LOL:

The wire from the vol casing to the switch, is there to ground the switch to complete the circuit. On your first picture there is a black wire on the casing. I think that may be it, but I can't tell for sure.
 
#16 ·
Right...

I think I'm actually starting to get the hang of this wiring lark :LOL:

Just looking more closely at the first picture of your guitar cavity.... The black wire from the volume pot goes to the switch, which is ground. The two green wires (south start ((ground)) are on the same lug, which then eliminates the need for them to be attached to the volume casing (grounding the pickups). Therefore, the guitar is the same as the diagram, it's just that it has been wired more compactly and economically.

Taking the tone pot out of the equation shouldn't be hard. As for the sound...... I dunno :LOL:
 
#17 ·
That's hilarious. I saw your phone chrome above the pic and my brain just assumed it was a photo of your guitar, taken for comparison. Someone in my NGD thread also has this same model, and I got mixed up and thought you were him... or he was you... or maybe this is all just the beginning of cognitive decline...

But ANYWAY, I'm starting to get the hang of it now too... and I can see now how the diagram achieves the same thing (though it lacks the treble bleed), as you mentioned.
 
#18 ·
or maybe this is all just the beginning of cognitive decline...


🫣🫣🫣🫣😂😂😂

I’m amazed that I could actually help interpret the diagram, as I am only at the beginning of trying to learn the subject.

I hope now, that what I’ve said is correct 😂 but if you can interpret the same thing now, that can’t be half bad. Hope it works out for you. Do me a favour and let me know if I was right 👍🏻 Because like I say, I’m trying to learn the wiring wizardry.
 
#19 ·
Well, I may not actually end up removing the tone pot. I want to play it as-is for a few weeks before I decide. I don't love the idea of putting a temporary plug in the volume spot, even if I'm able to find a good color match.

First, I'm going to try replacing the knobs with mini-dome knobs and see if that's enough to solve my issue: my hand hits the volume while picking.
 
#20 ·
Hhmmm!

I can see the dilemma you’re having by looking at the photo on your NGD thread.

You could always cover the hole with a sticker of some sort. That can always be removed if you want to put it back standard.
 
#21 ·
Actually, I bought a pack of these little plastic plugs at a hardware store and they fit perfectly into the holes--not too tight nor too loose. I can easily remove them if I want.

On my 7620 I found a nail polish that was a very close color match and painted the surface (the plugs are flat back otherwise). I got lucky here, but I'm not sure I'd get so lucky finding a good match for the neon yellow of the new guitar.

Image